
How Do I Remix a Song Legally and Release It on SoundCloud
You've finished the remix at 2 a.m. The drop hits, the vocal sits perfectly on your new groove, and you bounce the file ready to share. Then the question stops you. Are you allowed to publish it?
That pause is where most independent artists lose momentum. The production work is done, but the rights chain isn't documented, the stems came from a download rather than a supplied pack, and nobody can say who controls the master recording. If you're asking how do I remix a song and release it on SoundCloud, start by reversing the order. Clear and file the permission first, build second, and treat mixing, delivery, and promotion as parts of the same release process. A remix you can't publish, monetize, or defend after a takedown notice isn't a release asset yet. It's a private experiment.
Table of Contents
- Remix Workflow at a Glance
- Who Owns the Rights in Your Remix
- How to Build the Remix Step by Step
- Mix and Master Settings for Clean Delivery
- Upload and Publish the Remix on SoundCloud
- Promote the Remix Without Shortcuts
Remix Workflow at a Glance
Your remix sounds finished, listeners are asking for a link, and the upload screen is open. That's the worst moment to discover the artist never had authority to clear the master, or that your only bounce is a loud rough mix with no 24-bit premaster.
Use these six stages as gates. Don't move to the next stage until you hold the output in the middle column.
| Stage | Output you need | Common failure |
|---|---|---|
| 1. Source and rights | Supplied stems or a licence file with written terms | Working from a downloaded track with no permission |
| 2. Import and tempo | Project tempo locked to the source and stems aligned | Wrong BPM metadata or over-warped vocals |
| 3. Groove and harmony | A new 8- or 16-bar loop and a vocal tested against the new key | Retuning before testing the vocal |
| 4. Arrangement | Intro, tension, drop, breakdown and outro | Changing every element at once, leaving no anchor |
| 5. Mix and master | A 24-bit premaster at the target loudness | Limiting too early and hiding kick and bass conflicts |
| 6. Upload and tag | Labelled files, credits and a rights note | Publishing before the rights check passes |
Treat delivery as part of the creative job, not an afterthought. The Audio Engineering Society defines mix stems as partial mixes that retain relevant processing and spatial information for featured elements in the AES stem delivery guidance. Keep those groups organized by musical function and preserve their internal balance until you have a reason to change it.
Practical rule: If stage one produces only a download and a verbal yes, you haven't sourced a remix yet. You've sourced a risk.
Most unpublishable remixes fail at the sourcing and rights rows, not because the producer couldn't build a drop. Check those rows first, then spend your studio hours with confidence.
Who Owns the Rights in Your Remix
The performing artist said yes in a message. That feels like permission, but it may not clear the track. A song normally contains at least two separate rights layers, the composition and the master recording, and different people or companies can control each one.
For a remix based on an existing recording, SoundCloud guidance on uploading work created by someone else explains that permission may be required from multiple rights holders, not only the performer. If a label released the source track, authorization will typically need to come from the label because it commonly controls the master recording. The songwriter or publisher separately controls the composition you use or recreate.
Build the evidence file before you build the track
| Rights holder | What they control | Who to ask | What to keep |
|---|---|---|---|
| Songwriter or publisher | The composition, including melody and lyrics | The songwriter or their publisher | Signed permission naming the composition |
| Master owner | The specific recording you sample or rebuild | The label or current owner of the master | Signed permission naming the master and its territory |
| Vocal or sample contributor | Their performance or sampled clip | The contributor or their representative | Written confirmation and terms of use |
| Beat or sample library | The licence terms for the loop or sound | The library or producer | Licence file and the DAW project file |
Ask for permission that names the source track, your remix, territory, duration, platforms, and monetization. Save signed approvals, beat and sample licences, contest rules, DAW projects, and the terms attached to any generative tool or supplied material in one folder. If a platform asks how the track was made, you can answer with documents rather than memory.
Crediting the original artist, buying the song, calling the remix non-commercial, or choosing a Creative Commons setting for your upload doesn't create clearance. An old melody can sit in the public domain while the particular recording you sampled remains protected. If you use generated passages, edited source audio, or tool-created parts, this plain-language guide to AI content ownership is useful background on separating tool output from the rights in the material feeding it.
Legal stems usually come from three places. The artist, label, or contest organizer supplies them with written terms, a licensed library supplies loops with a licence file, or you record the material yourself. A stem extracted from a purchased download is a different legal situation because purchase gives you listening access, not publication permission.
Once the rights file is complete, plan how you'll share SoundCloud music without turning the release description into your only proof. Credit belongs on the page. Permission belongs in the folder.
How to Build the Remix Step by Step
Request clearly labeled vocal, drum, bass, and effects stems, all starting at the same bar and exported at the original session sample rate and bit depth. The Ableton guide to importing and exporting stems supports that clean starting point, because mislabeled or offset files create editing problems before you've made a creative decision. If you're considering how isolated parts behave once removed from a full mix, this piece examining separation within music offers useful context before you lean too heavily on extracted material.
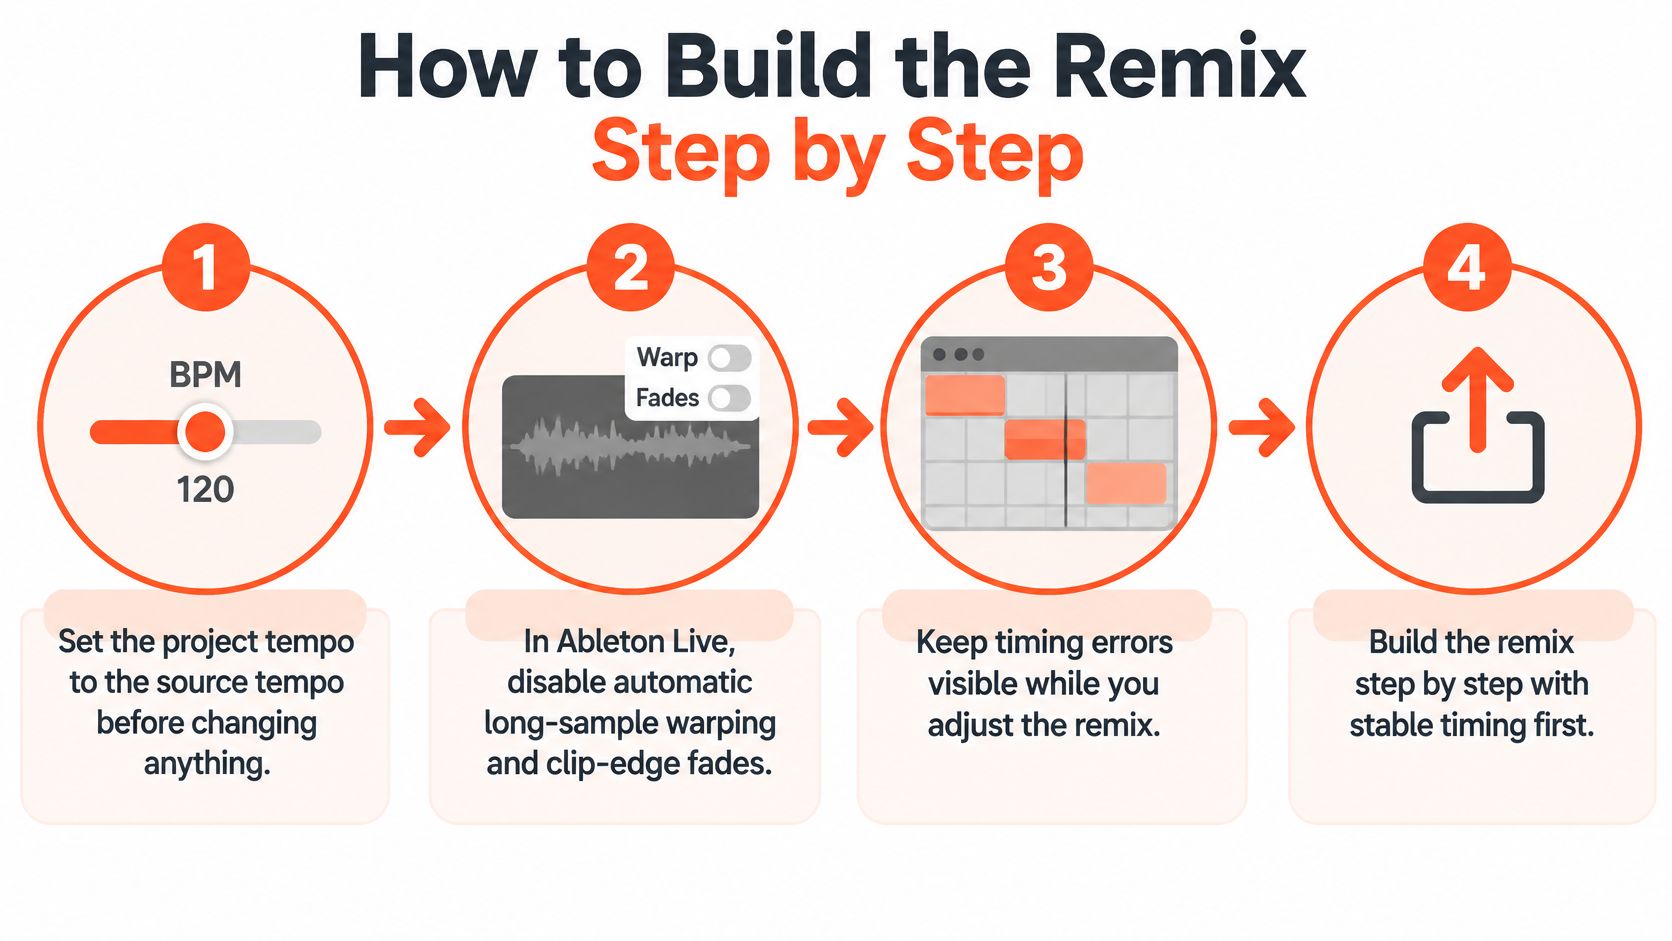
Lock timing before changing tempo
- Set the project tempo to the source tempo first. This exposes incorrect BPM metadata immediately. Changing BPM first can disguise a grid error until the vocal starts drifting against your drums.
- Turn off automatic long-sample warping and clip-edge fades before importing in Ableton Live. Those settings can shift timing or soften sharp transients, particularly kick attacks. Import clean, then make deliberate changes.
- Align and audition every stem. Confirm each file starts on the same bar, solo it, then hear it with the others. Don't build around a stem that's offset, truncated, or carrying obvious separation artifacts.
- Map what must survive. Mark vocal phrases, downbeats, phrase boundaries, harmonic center, and the original energy curve. You need enough recognizable material for listeners to orient themselves when the context changes.
Warp only for a deliberate tempo change. Warp modes can alter timing without changing pitch, or pitch without changing timing, but extreme stretching commonly causes transient smearing, metallic artifacts, and phase problems. A vocal that sounds underwater rarely gets fixed by adding brighter effects later.
Build contrast around one stable anchor
- Create a contrasting 8- or 16-bar groove. Change the drum pattern or bass movement while the vocal phrase remains recognizable. If every musical element changes at once, you're asking listeners to learn a new song with no familiar handhold.
- Test the vocal against the new harmony before transposing. Sing or play the proposed chords under the untouched phrase first. Retune only when the relationship works, because correcting a vocal into the wrong harmonic idea makes both parts sound uncertain.
- Arrange intro, tension, drop, breakdown, and outro. Draw filter openings, reverb sends, drum mutes, and transition effects as structure, not decoration. Each section should either add energy, remove it, or prepare the next event.
- Compare against a reference at matched loudness. Louder almost always sounds better for a few seconds. Match levels so you're judging groove, vocal clarity, and low-end weight rather than playback volume.
Don't warp a vocal to rescue a tempo you haven't confirmed. Fix the grid, then commit to the stretch.
Finish with two practical checks. The original vocal should sound intentional on the new groove, not pasted over it, and the drop should produce a clear jump in energy. Export a full-resolution premaster plus clearly labeled music-only and performance versions when the arrangement passes both checks.
Mix and Master Settings for Clean Delivery
Start with destinations, not a single magic loudness number. A streaming premaster, a backing track, and a performance mix need consistent peaks and clear labels, even when their uses differ.
| Destination | Loudness target | Peak control | Export |
|---|---|---|---|
| Normalized streaming delivery | about -14 LUFS integrated | about -1 dBTP | 24-bit WAV premaster at session sample rate |
| Popular-music master, common range | -14 to -16 LUFS | about -1 dBTP | 24-bit WAV premaster |
| Instrumental version | Match the vocal master unless delivery notes say otherwise | about -1 dBTP | Labelled 24-bit WAV |
| Performance mix | Match the approved master so playback levels stay predictable | about -1 dBTP | Labelled 24-bit WAV |
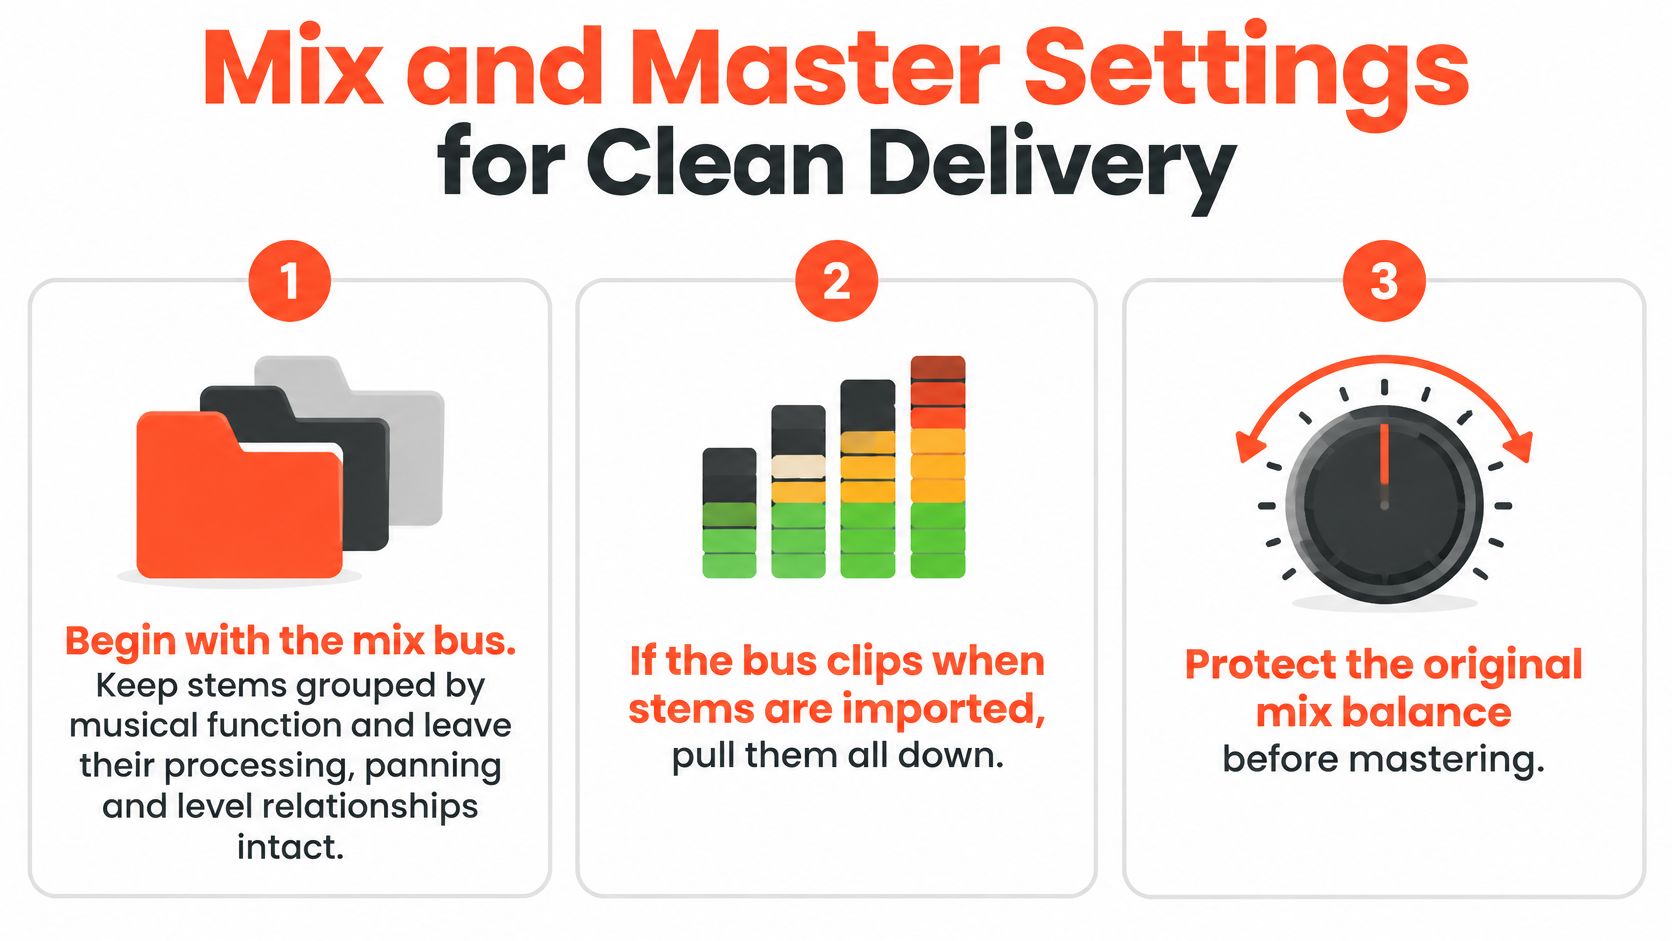
Keep stems grouped by musical function and preserve their embedded processing, panning, and level relationships at import. If the mix bus clips, pull the imported stems down together and leave usable headroom for mastering. Lowering only the loudest group may solve the meter reading while breaking the balance the original mixer intended.
Don't put a brickwall limiter on the premaster during production just to make the session feel exciting. Limiting can hide kick and bass conflicts, exaggerate harshness, and remove peak information a mastering engineer needs. I would solve masking with arrangement, level, EQ, and sidechain choices first.
Run the checks in a fixed order
- Integrated LUFS: Confirm the whole track sits near the chosen destination target.
- Short-term LUFS at the drop: Check the loudest moment rather than trusting the full-song average.
- True peak: Keep peaks controlled near the delivery ceiling.
- Mono compatibility: Listen for bass cancellation and disappearing synths or backing vocals.
- Inter-channel correlation: Spot excessive out-of-phase width before encoding exposes it.
Solo the vocal after pitch or time changes. Listen closely for breaths, consonant clicks, phasey tails, and doubled transients, then hear it again in context where reverb may blur intelligibility. Watch clipping after parallel processing too, because a clean channel meter doesn't guarantee a clean combined path.
Export the 24-bit WAV premaster at the session sample rate, plus labeled backing track and performance versions. Audition the encoded streaming file last. That's the version listeners hear, and it's where harsh top end or weak mono translation becomes obvious.
Upload and Publish the Remix on SoundCloud
Don't open the upload page until the release folder can stand on its own. Publishing is a verification step, not the moment to assemble paperwork and guess which audio file is final.
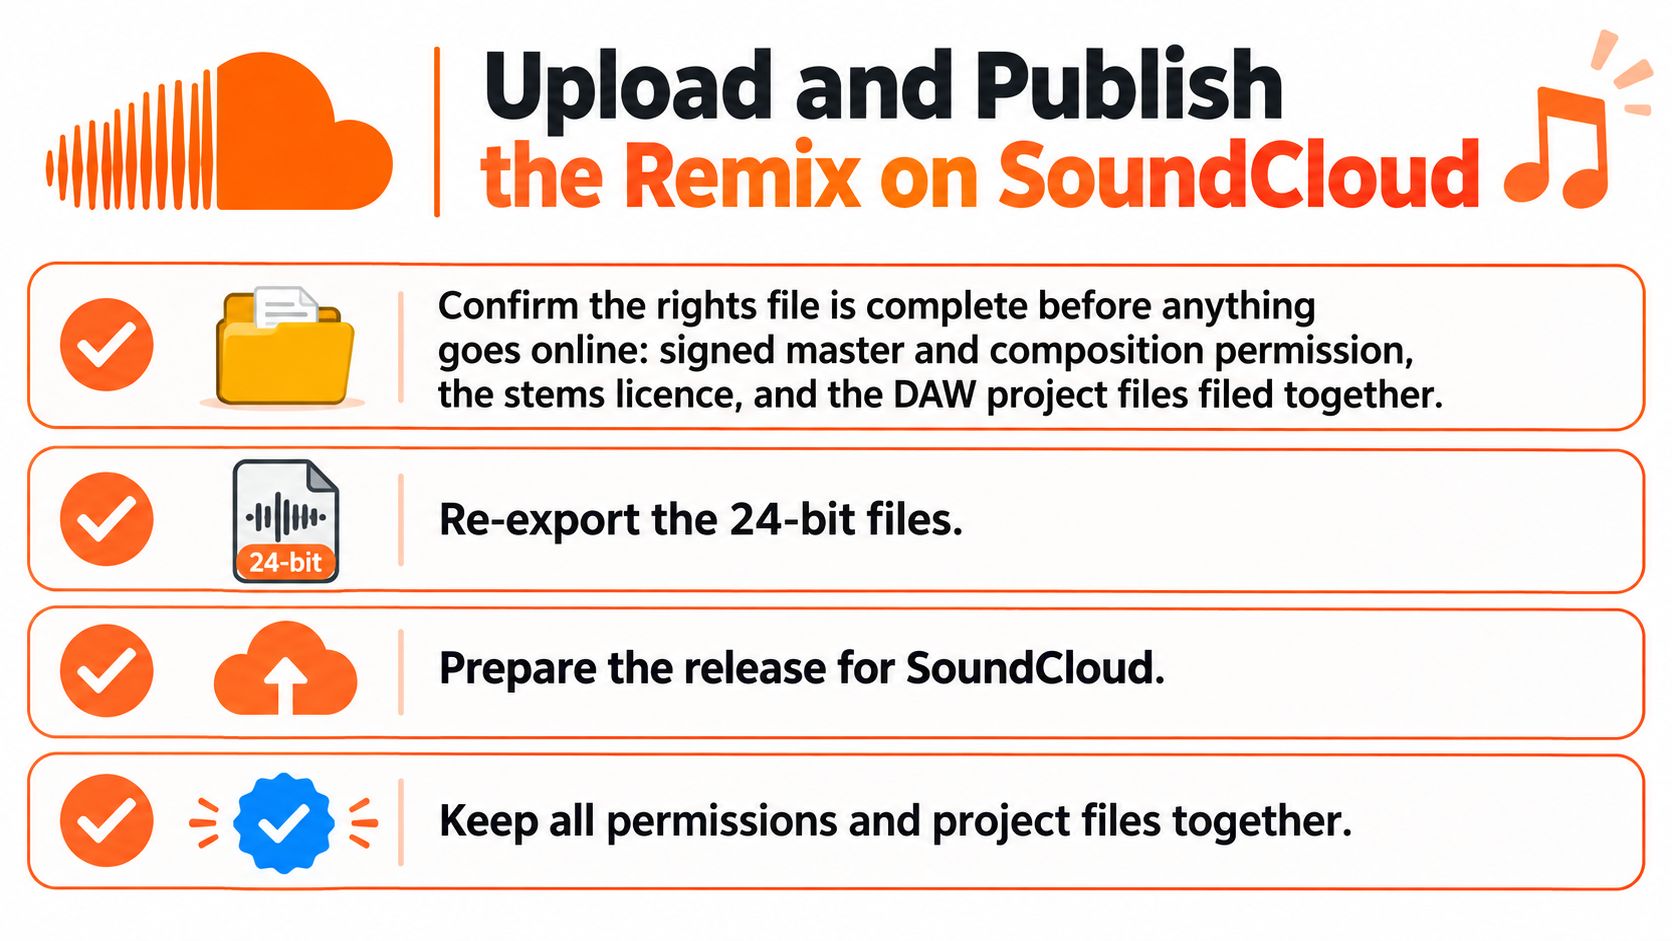
- Confirm the rights file. File signed composition and master permission, the stems licence, relevant sample documents, and DAW project files together.
- Recheck the premaster. Verify integrated loudness, true peak, and mono compatibility on the exact file you'll upload.
- Upload the labeled premaster, not a rough bounce. Play the uploaded result from start to finish before publishing, including the tail.
- Use a searchable title. A format such as Artist - Track (Your Name Remix) tells listeners whose song it is and who rebuilt it.
- Set genre first, then scene tags. Add subgenre, tempo, and mood tags that describe your version. Use the original artist's name as a tag only when your permission covers that use.
- Write a clear description. Credit the original artist and label, identify the authorized stem or licence source, and state that the remix is authorized. Credit is courtesy and context, not clearance.
- Adapt the artwork carefully. Keep the source release recognizable if permitted, while marking your version as a remix so listeners don't confuse it with the original.
- Schedule for a promotable day. Pick a release time when you can answer messages, contact curators, and share clips rather than disappearing after upload.
If you need a refresher on the mechanics, this walkthrough on how to post on SoundCloud pairs well with the release check. SCHelper can also support the wider campaign because you choose target artists whose listeners already match your sound and scene. It can be used to grow a fresh profile, promote mixes, or build a listener base between releases.
Before pressing publish, confirm the rights file, premaster, uploaded playback, title, tags, description, artwork, and evidence location one final time. A takedown dispute moves faster when every document has a known home.
Promote the Remix Without Shortcuts
Send the remix to the original artist and their label first. They supplied the source material, they understand the audience, and a repost from the artist behind the original carries more weight than a cold message to a stranger. Keep the note short, name the two or three changes you made, and make the request specific.
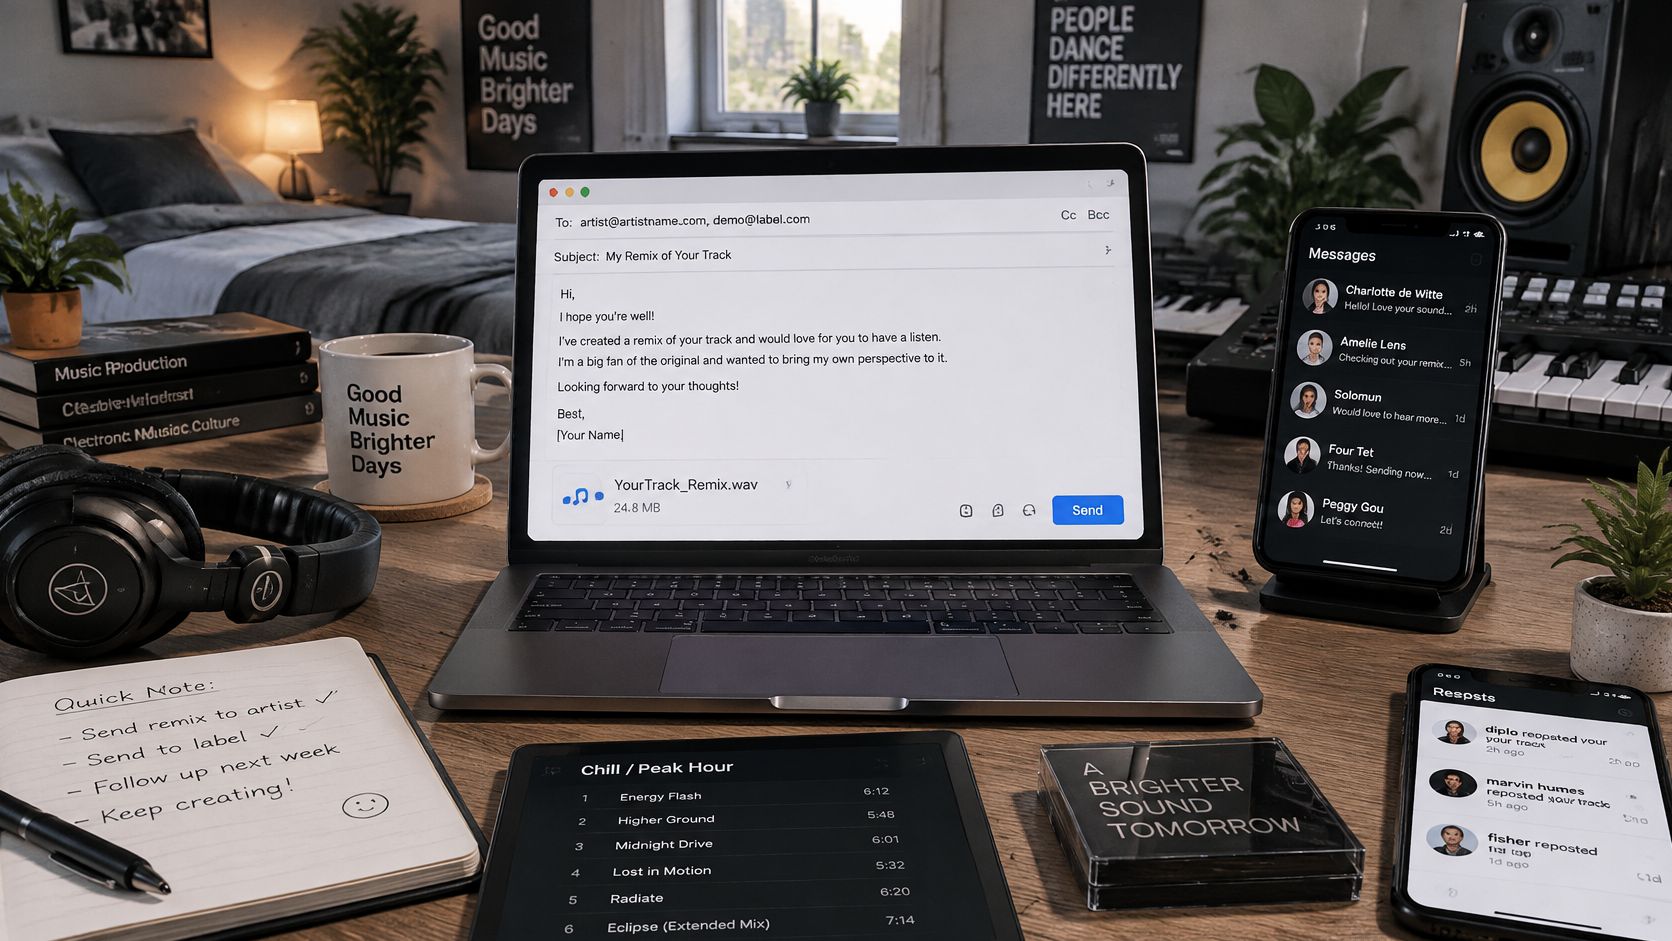
Work outward from that first contact:
- Pitch matched DJs and curators. Choose sets where your tempo, key, and energy fit well. Lead with the drop or strongest transition, not a long list of links.
- Comment like a producer, not a promoter. Leave specific remarks about another artist's drum choice, vocal treatment, or arrangement turn. Generic praise with your link attached tells people exactly why you arrived.
- Cut a 30-second drop clip. Use it for short-form video, show the session or performance if you can, and point viewers to the full SoundCloud track. The clip's job is to create curiosity quickly.
- Share where self-promotion is welcome. Respect each genre community's posting rules and contribute before asking members for attention.
- Check contest terms independently. Entry permission doesn't automatically mean you can publish the remix everywhere. Confirm upload, monetization, and ownership conditions before entering.
- Review response after 72 hours. If the short clip earns stronger engagement than the full-track post, lead the next update with the drop and use the comments to guide a second clip.
Steady human outreach across a week usually beats one frantic release-day burst. Every contact should be easy to explain if someone asks how you found them and why the remix belongs in their world. For a broader planning framework, these music promotion strategies can help you sequence the artist pitch, curator outreach, clips, and community posts without cannibalizing each other.
We offer SCHelper as one optional listener-finding step within that wider campaign. We help you find listeners who already like music close to yours, based on target artists you choose for the remix's sound and scene. SCHelper isn't affiliated with SoundCloud, so it doesn't replace artist permission, direct outreach, or your own judgement about who should hear the track.
Avoid promising yourself a breakthrough from any single post. A cleared remix, a clean master, and a week of credible outreach give the song several chances to meet the right listener. That's how a remix becomes catalogue, not just upload-day activity.
Ready to put your cleared remix in front of listeners who already like artists in your scene? Visit SCHelper to choose target artists, review focused daily listener recommendations, and build steady activity around the release while your rights file stays ready.