
How to Change the BPM of a Song Without Losing Quality
You've got a song ready for a mix, but it feels too slow beside the next track. Or you're preparing a faster SoundCloud edit, and the first attempt leaves the vocal sounding metallic. Entering a new tempo is easy. Getting a version you'd release takes more care.
Learning how to change the BPM of a song starts with checking its original tempo, then choosing what you need to preserve: pitch, groove, or the character of the recording. Keep an untouched copy of the audio, and treat the target BPM as a proposal until you've listened to the result.
Table of Contents
- Pick the Right Tempo Change Method
- Verify the Original BPM Before You Stretch
- How to Change a Track's BPM Step by Step
- How Far You Can Shift BPM Without Audible Damage
- Fix Artifacts, Drift and Pitch Problems
- Check the Result by Ear Before You Export
Pick the Right Tempo Change Method
Time-stretching changes duration while trying to preserve pitch. A playback-speed change does something different: it raises or lowers pitch alongside tempo. Neither method guarantees that the performance will retain its original feel.
Tempo change methods compared
The ranges below are conservative auditioning starting points, not measured quality limits. A sparse recording may tolerate more movement than a dense master, while an exposed vocal may reveal problems before anything else.
| Method | Typical tools | Keeps pitch | Rough safe shift range |
|---|---|---|---|
| Time-stretch with warp or flex | Ableton Live, FL Studio, Logic Pro, Pro Tools | Yes | About 5% on a full mix, as an initial listening checkpoint |
| Change Tempo effect | Audacity | Yes | About 10% as a trial range, with artifacts checked before applying |
| Playback speed change | Most DAWs and tape-style plugins | No | Any chosen shift, but pitch moves with speed |
| Stem-based stretching | Any DAW after stem separation | Yes, per stem | About 10% per stem as a starting test, vocals checked first |
Don't interpret the Audacity row as evidence that it handles larger changes better than a DAW. The source audio, processing mode, and quality settings matter more than the application name.
Make the choice from your source file
- Project access: If you have the multitrack, process original tracks rather than separating an already finished master. You can choose suitable processing for each instrument.
- Size of the change: For a proposed shift under about 10%, audition a straightforward stretch first. Treat that percentage as a workflow checkpoint, not permission to skip listening.
- Creative intent: If a brighter sped-up vocal or darker slowed-down mix is desirable, a deliberate playback-speed change may suit the release.
Stem separation adds another compromise: you gain processing control, but the separated parts can contain leakage or separation artifacts. Don't split a clean master unless the extra control solves a problem you can hear.
Default choice: Keep the edit simple until the sound gives you a reason to use a more involved method.
Verify the Original BPM Before You Stretch
An incorrect source BPM can make a convincing opening turn into a drifting edit later. Tempo detection can misread swing, interpret the pulse at half-time or double-time, or struggle with live timing and an intro without clear percussion. The Music Production Wiki time-stretching guide recommends checking detected tempo against tap tempo, known metadata, or manually counted bars and beats.
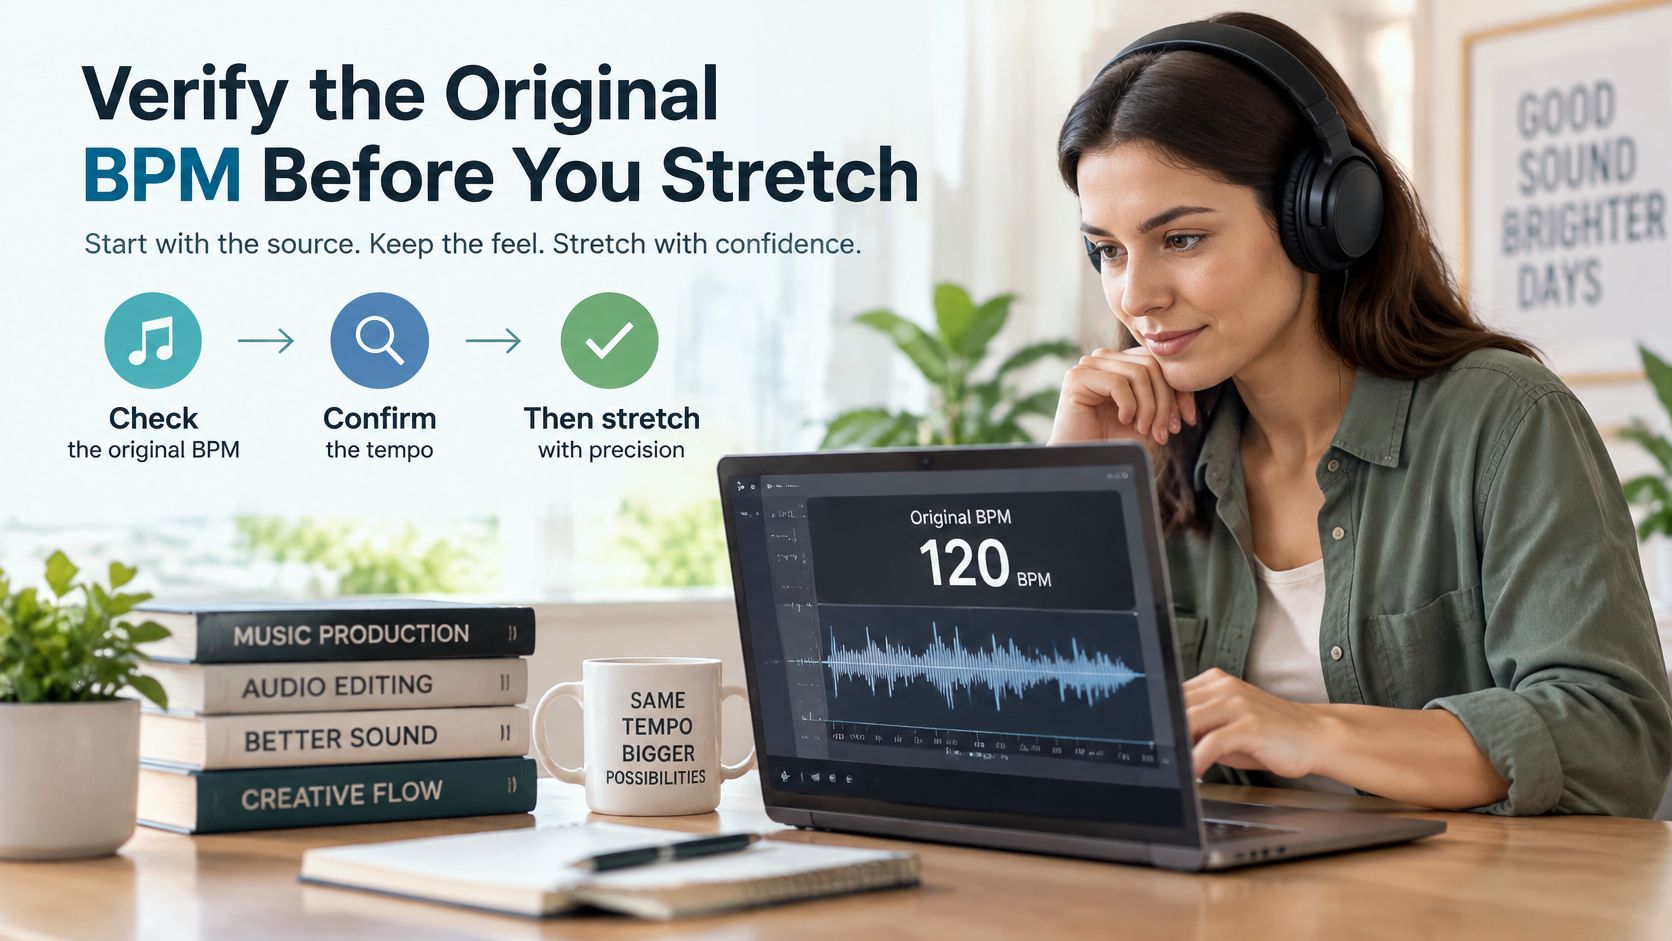
Count a stable passage
Find a clear downbeat. Locate the start of a complete musical bar, preferably where the drums and phrase structure are obvious. Mark it rather than assuming the file's beginning is the beginning of a bar.
Measure complete bars. For example, count a stable passage of 16 or 32 bars and measure from the starting downbeat to the downbeat immediately after the final counted bar. Don't stop on that bar's last snare or last beat.
Calculate the tempo. Use BPM = counted beats ÷ elapsed seconds × 60. In a hypothetical passage with four beats per bar, 16 bars contain 64 beats; if those beats occupy 32 seconds, the tempo is 120 BPM.
Test the musical interpretation. Try the half-time and double-time readings against the kick, snare, and phrase lengths. Choose the grid that makes musical editing straightforward, rather than whichever reading the detector selected.
Decide whether the song needs a tempo map
Check another stable passage later in the recording. If the same grid stays aligned, a constant source tempo is a reasonable basis for conversion.
Write down the verified source BPM, or save the source tempo map, before touching warp or flex settings. Every later loop, edit, and export relies on that starting point.
How to Change a Track's BPM Step by Step
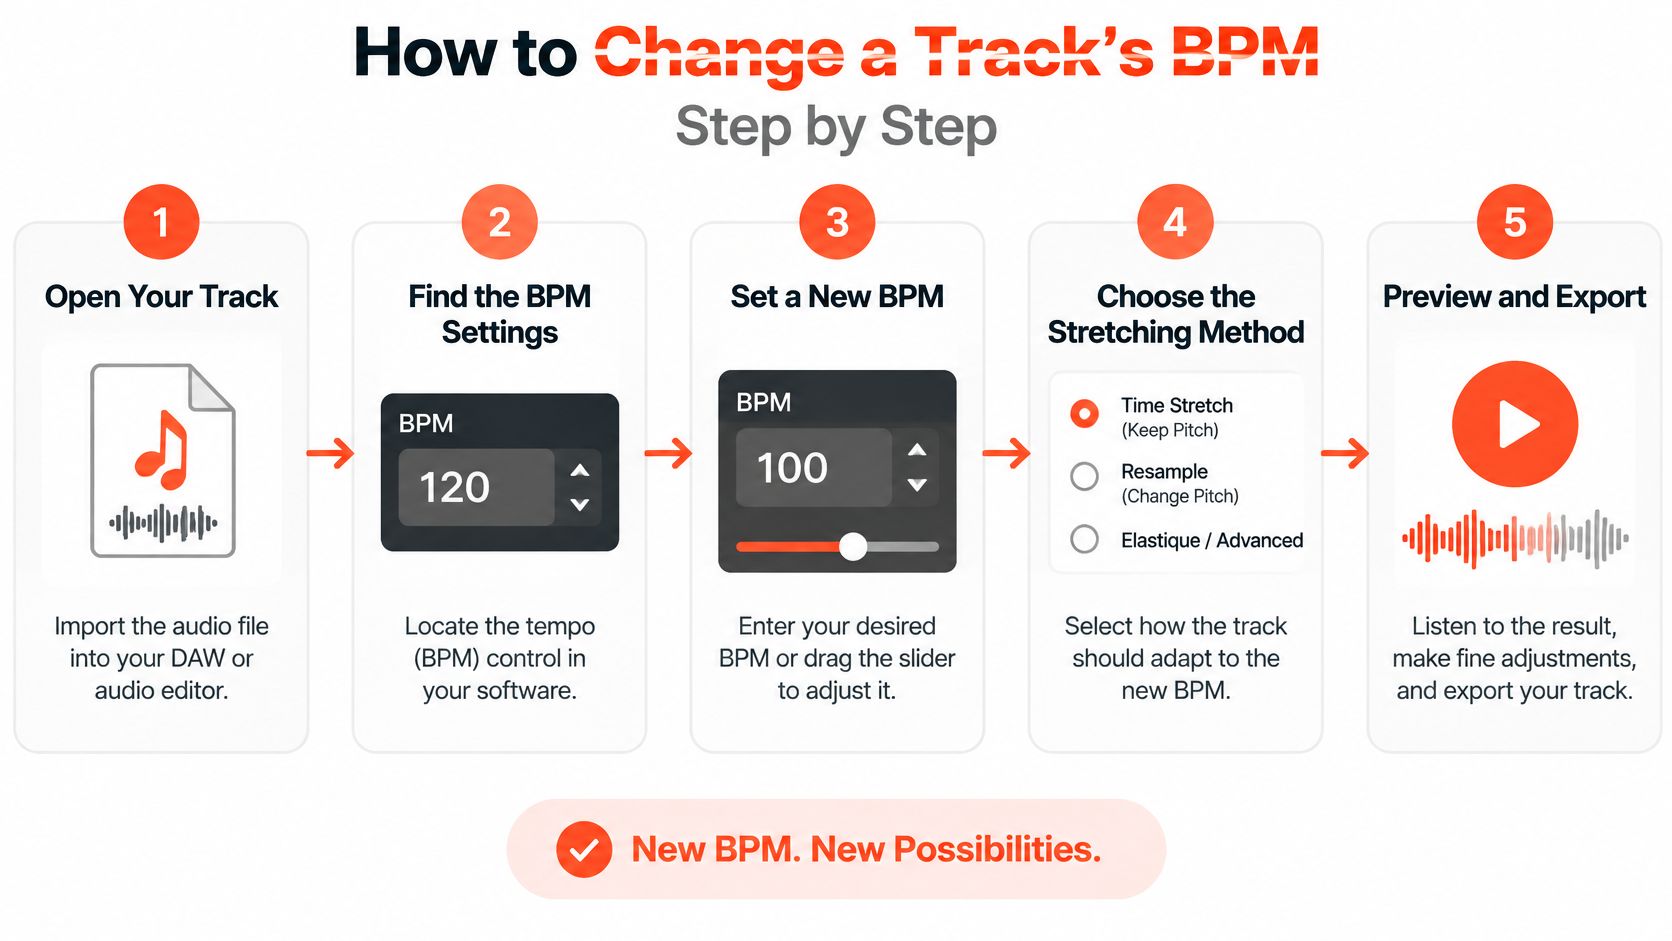
Set the source before the destination
Import the song onto its own audio track. Keep it separate from reference tracks so you can mute, inspect, and export it independently. Check whether your DAW already stretched the file on import, because an unnoticed import setting can alter playback before you start.
Set the project to the verified original BPM. Confirm the clip's source-tempo field agrees where your DAW provides one. If the destination tempo changes while the software still holds the wrong source value, the stretch ratio is wrong from the first pass.
Anchor the first clear downbeat to the grid. Place a warp marker or timing anchor at that musical start, accounting for any pickup notes before it. An anchor on the wrong beat offsets the whole edit even when the BPM itself is correct.
Check alignment across a complete section. Inspect the beginning and end of a verse or chorus while listening with the click. Leave intentional timing alone unless the goal is to tighten the performance as well as change the tempo.
Bounce a test and compare it with the original. Export to a new filename, retain the original, and listen at comparable loudness. A moving playhead and a clean-looking waveform can hide artifacts that only appear when you listen away from the edit screen.
If the bounce is meant for a larger rearrangement, keep the tempo pass separate from the creative decisions involved in remixing a song.
The quick Audacity version
Select the intended audio, then open Effect → Pitch and Tempo → Change Tempo, or find Change Tempo in your version's effect menu. Enter the percentage change, preview it, and apply only after listening to the chorus as well as an exposed passage. Don't confuse it with a speed-and-pitch effect.
For a fixed-grid edit, the finished kick pattern should remain aligned throughout the section, and vocal phrases should retain their intended relationship to the bar lines. A singer's pickup can precede a bar without being wrong, so check the musical phrasing rather than forcing every word onto a beat.
How Far You Can Shift BPM Without Audible Damage
Moving from 120 to 126 BPM is a 5% increase, while moving from 120 to 114 BPM is a 5% decrease, examples discussed alongside the perceptual issues in the 2021 tempo-perception study. Participants could distinguish versions shifted by only plus or minus 5 BPM, yet their subjective ratings didn't consistently match the actual tempos, a finding the researchers called the tempo-anchoring effect.
That distinction matters: an audible tempo change isn't necessarily audible damage. You want listeners to hear the new energy, not smeared percussion or an unnatural vocal.
Target BPM at 5 and 10 percent shifts
These are calculated slowdown targets, not quality guarantees. Multiply the original tempo by the proportion you want to retain.
| Original BPM | -5% | -10% |
|---|---|---|
| 90 | 85.5 | 81 |
| 100 | 95 | 90 |
| 120 | 114 | 108 |
| 128 | 121.6 | 115.2 |
| 140 | 133 | 126 |
For any destination, calculate percentage change = (target BPM − original BPM) ÷ original BPM × 100. A positive result means faster playback; a negative result means slower playback. Use the verified source value, not an estimate from the filename.
Separate technical quality from musical feel
A transparent stretch can still produce the wrong version. When you accelerate a vocal, the singer's pauses become shorter; when you slow a groove, the space between accents becomes more exposed. The software can preserve note pitch without preserving the same emotional effect.
Move gradually toward the destination and audition each candidate. Listen for whether the chorus gains useful momentum or merely feels hurried, and whether the slower version feels spacious or loses its forward motion.
Stop when the performance stops feeling intentional, even if the waveform still lines up perfectly.
For a remix or promotional clip, I'd treat a shift under 5% as a usually manageable starting experiment, not a promise of transparency. Above 10%, I'd plan for stem-level work or accept a clearly changed character. Those are production decisions, not thresholds established by the perception study.
Fix Artifacts, Drift and Pitch Problems
Decide what you're willing to sacrifice: pitch accuracy, transparency, or edit speed. A quick stereo stretch may preserve the key but soften the drums; a more involved stem edit may improve control while exposing imperfections in the separated audio.
The Vocalfy guide to pitching and time-stretching vocals describes why processing choices matter: transient-focused modes suit percussion, monophonic or vocal modes suit isolated parts, and complex or polyphonic modes suit full mixes. Larger adjustments can expose transient smearing, metallic textures, formant problems, and unnatural ambience.
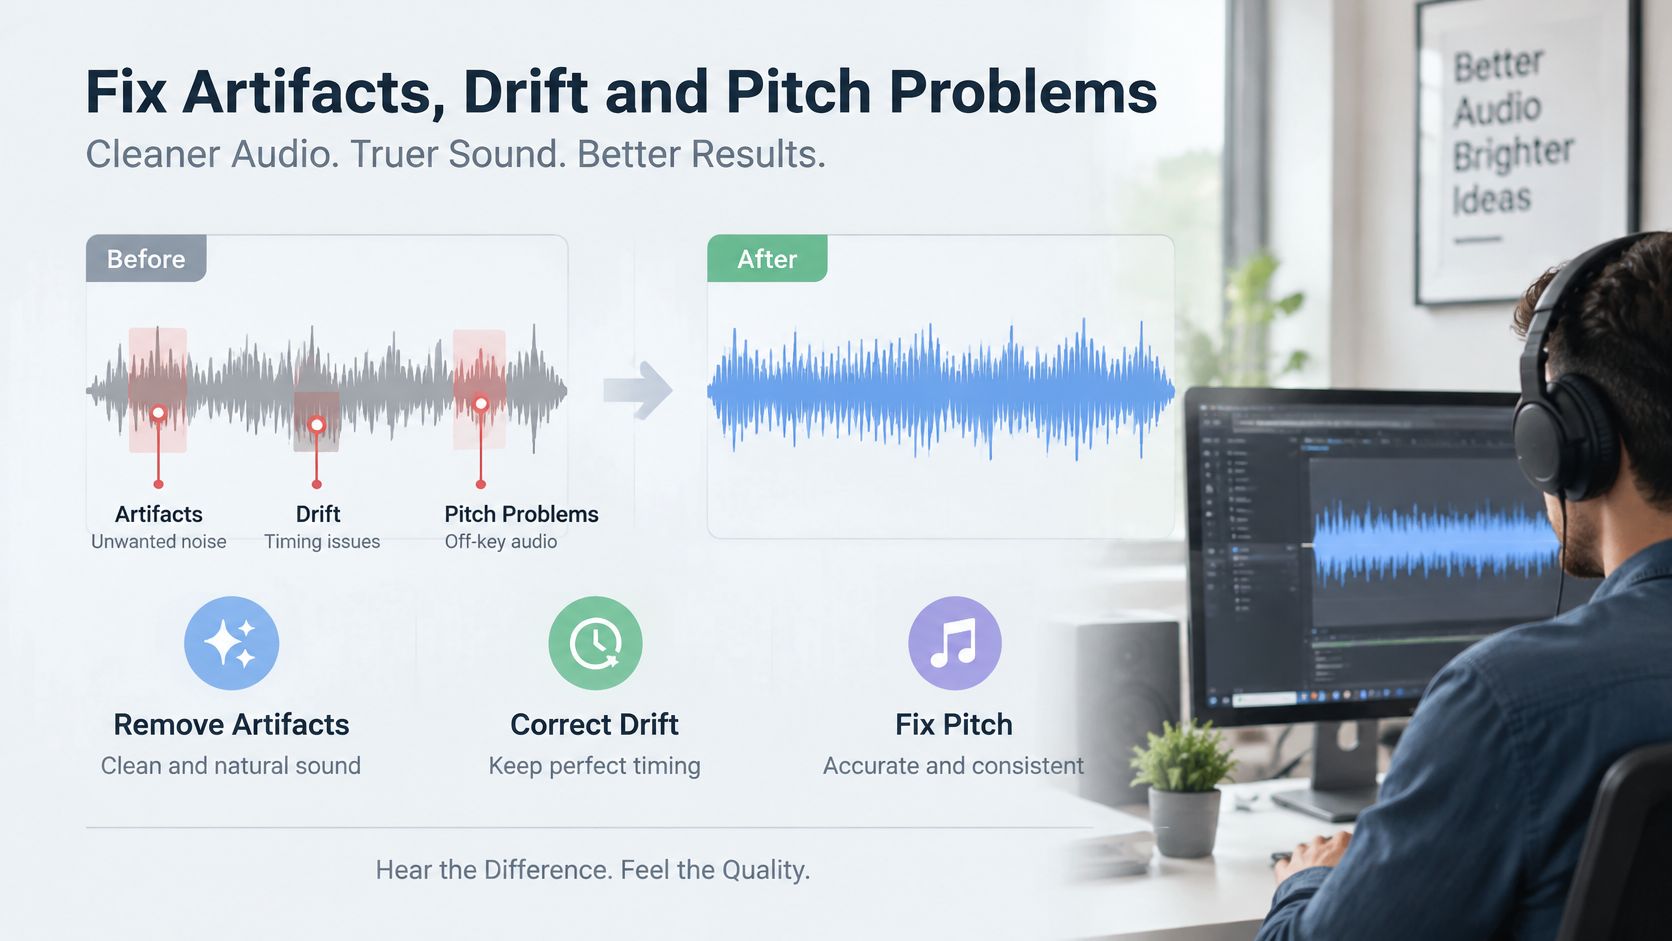
Tempo change symptoms, causes and fixes
| Symptom | Likely cause | Fix |
|---|---|---|
| Drums sound soft or smeared | Transient smearing from a large stretch | Use a transient mode or stretch drums as a separate stem |
| Vocals sound thin or robotic | Vocal formant problems in a full-mix mode | Use a monophonic or vocal mode, or reduce the shift |
| Pads sound metallic or watery | Stretching artifacts on sustained sound | Try another polyphonic algorithm; audition smaller target changes from the original |
| Loop drifts after a few bars | Wrong source BPM or missing tempo map | Reset the source BPM and recheck the first downbeat |
| Clicks or gaps at edits | Poor marker placement or unprotected edit boundaries | Add downbeat anchors where needed, inspect boundaries, and apply suitable fades |
| Groove sounds rushed after export | Unverified embedded BPM used as the source | Recheck the source manually before stretching |
Don't assume processing an already stretched file again will improve it. Smaller experiments are useful for finding an acceptable destination, but make each candidate from the original audio so you aren't accumulating processing artifacts.
Listen where problems are exposed
Solo a sparse vocal passage, then audition cymbal decays and sustained pads in context. A loud chorus can mask defects that become obvious during a breakdown or intro. Check whether a different mode improves the problem without damaging something else.
If your vocal mode offers formant preservation, compare it enabled and disabled. Keeping the musical pitch steady doesn't guarantee the singer's vowel character will sound natural.
A loop that progressively drifts usually points back to its source BPM, tempo map, or timing anchors rather than the stretching algorithm. Correct the timing description before trying to repair the sound.
Check the Result by Ear Before You Export
A BPM readout can be exact while the groove still feels wrong. In a 2021 experiment on tempo estimation, untrained listeners had a mean absolute error of approximately 7.5% across metronome sequences from 80 to 160 BPM, while DJs achieved about 3% error between 120 and 139 BPM. Treat that as a reminder of that split: confirm timing against a metronome, then judge whether the stretched audio still sounds like music.
Run the final listening pass
- Compare the chorus with the original. Match playback level before deciding the new version has more energy.
- Check vocal phrasing against the bars. Rushed breaths, late pickups and squeezed line endings usually mean the target tempo fights the performance.
- Inspect cymbal tails. Let crashes decay fully; smearing, flutter or room tone that suddenly changes size are export killers.
- Play against a reference. A click or correctly labeled reference at the destination tempo exposes drift faster than staring at the timeline.
- Test every tempo-map transition. Listen through each boundary, because a clean verse can hide a rushed pre-chorus or a hook that lands early.
Use monitoring you already trust. If you are still choosing headphones for this kind of detail work, DigiDevice picks for studio monitoring is a reasonable comparison point, and the final decision should happen on the system where you recognize balance fastest.
Export when the groove feels intentional and exposed passages stay clean. If either fails, change the method or the amount of shift rather than shipping a file only because the BPM label is right.
SCHelper helps SoundCloud artists find relevant listeners through daily recommendations based on their genre, scene and chosen target artists. Once your tempo edit or mix is ready, visit SCHelper to build a focused listener-discovery routine around the music you're releasing.